Today's Hours |
Windows Operating System
In order to type in Hebrew, you will need to install the proper Hebrew keyboard driver, in addition to using an appropriate font. Follow these instructions to conform to the standards adopted by NCU. Scroll down for instructions on Macs (OSX).
Hebrew Keyboard Driver
The keyboard driver tells the computer which Hebrew letter to display when a given key is pressed on the keyboard. For example, one driver might display an 'alep when you press the "a" key, while another will display an a-class vowel.
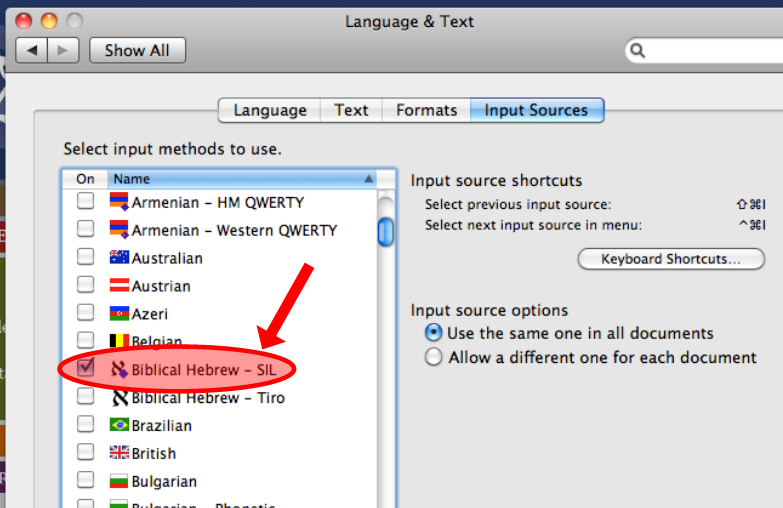
The driver you need to install uses the "SIL Layout" and can be found on the Society for Biblical Literature website. Be sure to select the keyboard driver for Windows that uses the SIL Layout. NOTE: Do not download the font.

After the Downloads window pops up, open the Biblical Hebrew Keyboards Installer." Follow the prompts given by the installer. Next you will need to follow these steps to begin typing in Hebrew.
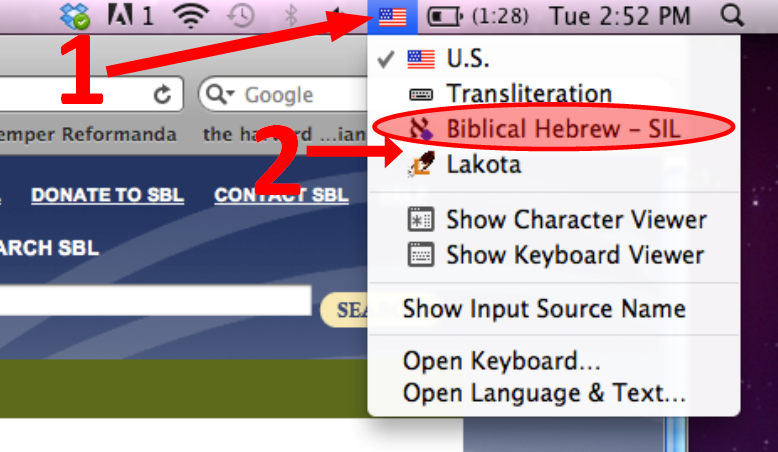
In order to switch to the Hebrew keyboard, you can change the language input by clicking on the country flag located on the menu bar.
Word Processor
Versions of Microsoft Word prior to the 2016 release do not offer support for right-to-left (complex) languages. For this reason, it is highly recommended that you use the 2016 release of Microsoft Word, or select another word processor. The two other main options are Pages and Mellel. Pages can be purchased through the App Store. Mellel is a very powerful and well supported processor, and is generally favored by graduate students working in the Hebrew Bible. Both of these options can save documents in Microsoft Word format and thus be used for submitting assignments electronically.
Font
The standard font adopted by NCU for typing in Hebrew is Times New Roman. In order to ensure that this is selected please set your default font for both English and Hebrew to Times New Roman (12-point).
Congratulations! You are ready to type in Hebrew.
Windows Operating System
In order to type in Greek, you will need to install the proper Greek keyboard driver, in addition to using an appropriate font. Follow these instructions to conform to the standards adopted by NCU. Scroll down for instructions on Macs (OSX).
Greek Keyboard Driver
The keyboard driver tells the computer which Greek letter to display when a given key is pressed on the keyboard. The driver you need to install is the "Greek Polytonic" keyboard. In order to install it, please follow these steps:
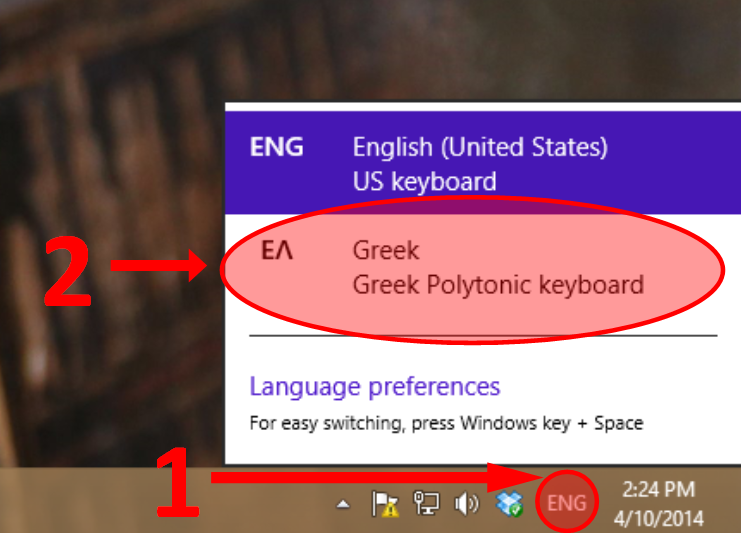
In order to switch to the Greek keyboard, you can change the language input on the task bar (see image below.
Font
The standard font adopted by NCU for typing in Greek is Times New Roman. Follow these steps to ensure this is properly set up:
Congratulations! You are ready to type in Greek.
Mac Operating System (OSX)
In order to type in Greek, you will need to install the proper Greek keyboard driver, in addition to using an appropriate font. Follow these instructions to conform to the standards adopted by NCU.
Greek Keyboard Driver
The keyboard driver tells the computer which Greek letter to display when a given key is pressed on the keyboard. The driver you need to install is the "Greek Polytonic" keyboard. In order to install it, please follow these steps:
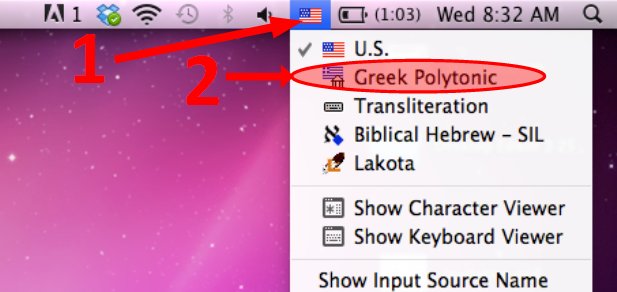
In order to switch to the Greek keyboard, you can change the language input by clicking the flag located on the menu bar (see image below).
Font
The standard font adopted by NCU for typing in Greek is Times New Roman. In order to ensure that this is selected please set Times New Roman (12-point) as the default font.
Congratulations! You are ready to type in Greek.